搜索到
7
篇与
的结果
-
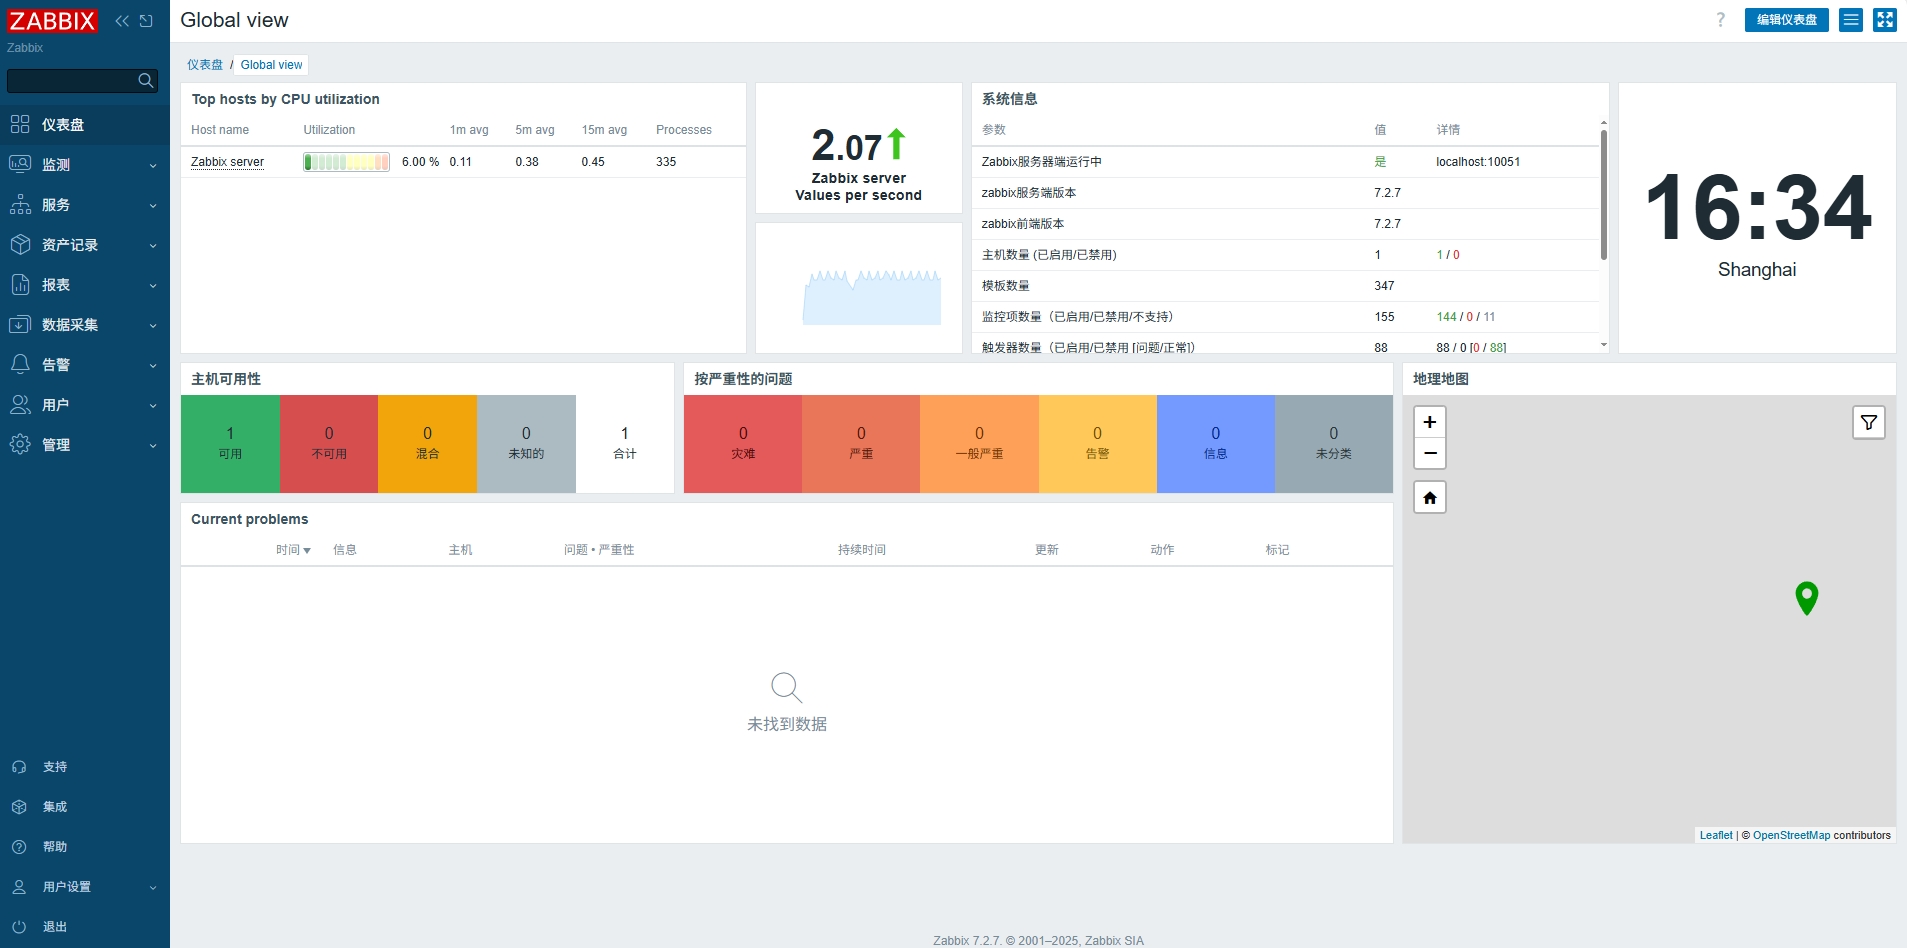
 欧拉系统openEuler 25.03安装Zabbix7.2.7 欧拉系统openEuler 25.03安装Zabbix7.2.71. 安装依赖dnf -y install telnet net-tools python-paramiko dejavu-sans-fonts python-setuptools sendmail mailx net-snmp net-snmp-devel net-snmp-utils freetype-devel libpng-devel perl unbound OpenIPMI unixODBC libevent-devel mysql-devel libxml2-devel libssh2-devel OpenIPMI-devel openldap-devel curl-devel unixODBC-devel wget gcc gcc-c++ go2. 添加用户groupadd --system zabbix useradd --system -g zabbix -s /sbin/nologin -c "Zabbix Monitoring System" zabbix3. 导入数据mysql -uzabbix -pzabbix zabbix < schema.sql mysql -uzabbix -pzabbix zabbix < images.sql mysql -uzabbix -pzabbix zabbix < data.sql4. 编译安装 7.x./configure prefix=/usr/local/zabbix --enable-server --enable-agent --with-mysql --enable-ipv6 --with-net-snmp --with-libcurl --with-libxml2 --with-openipmi --with-ares5. 配置启动脚本cp misc/init.d/fedora/core/zabbix_server /etc/rc.d/init.d/ cp misc/init.d/fedora/core/zabbix_agentd /etc/rc.d/init.d/ chmod +x /etc/rc.d/init.d/zabbix_server chmod +x /etc/rc.d/init.d/zabbix_agentd6. 配置web界面复制到WEB服务器cp -R /root/zabbix-7.2.7/ui/* /var/html/zabbix/输入访问地址安装zabbixhttp://ip:port/zabbix/默认账号: Admin 密码 zabbix
 -
 Typeperf From: TypeperfTypeperf 参数:C:\>typeperf /? Microsoft ® TypePerf.exe (6.1.7601.18869)Typeperf 将性能数据写入命令窗口或日志文件。要停止 Typeperf,请按 CTRL+C.用法:typeperf { <counter [counter ...]> | -cf <filename> | -q [object] | -qx [object] } [options]参数: <counter [counter ...]> 要监视的性能计数器。选项说明-?显示跟上下文相关的帮助。-f <CSV/TSV/BIN/SQL>输出文件格式。默认值是 CSV。-cf 含有监视的性能计数器的文件,一个计数器一行。-si <[[hh:]mm:]ss>示例间的时间。默认值是 1 秒。-o 输出文件或 SQL 数据库的路径。默认值为 STDOUT。-q [object]列出已安装的计数器(无实例)。要列出某个对象的计数器,包括对象名, 如 Processor。-qx [object]列出已安装的计数器(带实例)。要列出某个对象的计数器,包括对象名, 如 Processor。-sc 要收集的示例数量。默认值为,在 CTRL+C 之前都进行采样。-config 含有命令选项的设置文件。-s <computer_name>在计数器路径中没有指定服务器的情况下要监视的服务器。-y不用提示对所有问题都回答 yes。注意: Counter 是性能计数器的全名,格式为 "\\<Computer>\<Object>(<Instance>)\<Counter>"; 例如 "\\Server1\Processor(0)\% User Time"。示例: typeperf "\Processor(_Total)\% Processor Time" typeperf -cf counters.txt -si 5 -sc 50 -f TSV -o domain2.tsv typeperf -qx PhysicalDisk -o counters.txt
 -
 Zabbix 搭配Grafana绘图 一、 安装Grafana1.1 下载wget https://dl.grafana.com/enterprise/release/grafana-enterprise-8.5.4-1.x86_64.rpm1.2 安装yum install grafana-enterprise-8.5.4-1.x86_64.rpm1.4 启动Grafanasystemctl start grafana-server.service systemctl enable grafana-server.service二、配置Grafana2.1 登录Grafana默认用户名密码为: adminhttp://IP:3000/login2.2 安装Zabbix插件2.3 配置Grafana数据源https:/Zabbix服务器IP地址/api_jsonrpc.php2.4 配置仪表盘三、配置NGINX代理grafana编辑 /etc/grafana/grafana.ini 文件 添加以下文件[server] domain = monitor.xxxxxx.com enforce_domain = true root_url = %(protocol)s://%(domain)s/grafana
 -
 Zabbix 4.0 - 钉钉告警 1. 钉钉告警 python脚本一#!/usr/bin/python3 # coding: utf-8 import requests import json import sys import os import time import hmac import hashlib import base64 import urllib.parse timestamp = str(round(time.time() * 1000)) secret = 'SECRET' #密钥 secret_enc = secret.encode('utf-8') string_to_sign = '{}\n{}'.format(timestamp, secret) string_to_sign_enc = string_to_sign.encode('utf-8') hmac_code = hmac.new(secret_enc, string_to_sign_enc, digestmod=hashlib.sha256).digest() sign = urllib.parse.quote_plus(base64.b64encode(hmac_code)) headers = {'Content-Type': 'application/json;charset=utf-8'} api_url = "Webhook地址×tamp={0}&sign={1}".format(timestamp,sign) def msg(text): json_text= { "msgtype": "text", "text": { "content": text } } print(requests.post(api_url,json.dumps(json_text),headers=headers).content) if __name__ == '__main__': text = sys.argv[1] msg(text)2. 钉钉告警 python脚本二#!/usr/bin/python3 # -*- coding: utf-8 -*- import json import sys import os import requests import time import hmac import hashlib import base64 import urllib.parse timestamp = str(round(time.time() * 1000)) secret = 'Secert' #密钥 secret_enc = secret.encode('utf-8') string_to_sign = '{}\n{}'.format(timestamp, secret) string_to_sign_enc = string_to_sign.encode('utf-8') hmac_code = hmac.new(secret_enc, string_to_sign_enc, digestmod=hashlib.sha256).digest() sign = urllib.parse.quote_plus(base64.b64encode(hmac_code)) headers = {'Content-Type': 'application/json;charset=utf-8'} api_url = "Webhook地址×tamp={0}&sign={1}".format(timestamp,sign) def msg(text): json_text= { "msgtype": "text", "text": { "content": text }, "at": { "atMobiles": [ "131xxxx6362" #在群里@该手机用户 ], "isAtAll": False } } print (requests.post(api_url,json.dumps(json_text),headers=headers).content) if __name__ == '__main__': text = sys.argv[1] msg(text)
 -
 Zabbix 4.0 - 飞书告警Python脚本 Zabbix 4.0 - 飞书告警Python脚本#!/usr/bin/python3 import requests import json import sys import os import datetime # webhook地址粘贴进url内 url = "webhook地址" def send_message(message): payload_message = { "msg_type": "text", "content": { "text": message } } headers = { 'Content-Type': 'application/json' } response = requests.request("POST", url, headers=headers, data=json.dumps(payload_message)) return response if __name__ == '__main__': text = sys.argv[1] send_message(text)


