/


搜索到
51
篇与
的结果
-
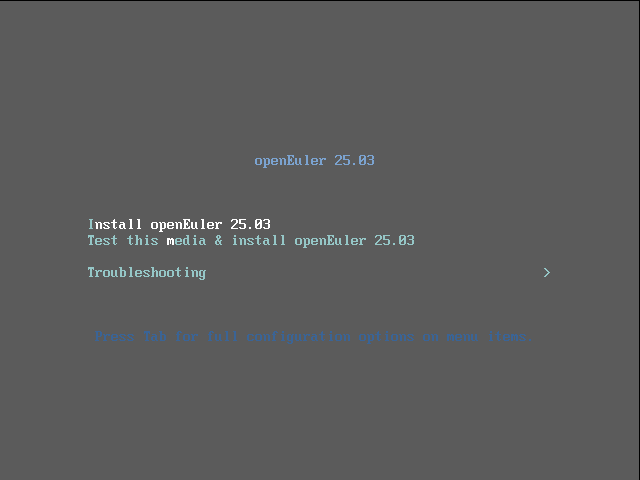
 VMware安装OpenEuler25.03 VMware安装OpenEuler25.03openEuler是一款开源操作系统。当前openEuler内核源于Linux,支持鲲鹏及其他多种处理器,能够充分释放计算芯片的潜能,是由全球开源贡献者构建的高效、稳定、安全的开源操作系统,适用于数据库、大数据、云计算、人工智能等应用场景。同时,openEuler是一个面向全球的操作系统开源社区,通过社区合作,打造创新平台,构建支持多处理器架构、统一和开放的操作系统,推动软硬件应用生态繁荣发展。一、安装过程1.1 安装1.2 选择安装语言1.3 分区1.4 选择安装软件1.5 是否启用root1.6 设置时区1.7 安装结束 重启系统
 -
CentOS 7.9 安装 Jira8.22 CentOS 7.9 安装 Jira8.22Jira 是什么?Jira 是首屈一指的敏捷项目管理工具,团队可使用该工具放心地规划、跟踪、发布和支持出色的软件。它是您整个开发生命周期的单一事实来源,为自主团队提供情景信息,助力团队在与更大的业务目标保持关联的同时快速采取行动。无论是用于管理简单的项目,还是用于支持 DevOps 实践,Jira 都能让团队轻松推进工作、保持一致并在情境中进行沟通。1. 安装MySQL 8.0.12rpm -ivh mysql-8.0.12-1.el7.x86_64.rpm source /etc/profile.d/mysql.sh2.配置root密码# mysql root 密码为空,先配置root密码 ALTER USER 'root'@'localhost' IDENTIFIED WITH mysql_native_password BY 'root123' PASSWORD EXPIRE NEVER; flush privileges;3. 创建Jira数据库mysql> CREATE DATABASE jira CHARACTER SET utf8mb4 collate utf8mb4_0900_ai_ci; Query OK, 1 row affected (0.00 sec) mysql> CREATE USER 'jira'@'localhost'; Query OK, 0 rows affected (0.00 sec) mysql> ALTER USER 'jira'@'localhost' IDENTIFIED WITH mysql_native_password BY 'jira123'; Query OK, 0 rows affected (0.00 sec) mysql> GRANT ALL PRIVILEGES ON jira.* TO 'jira'@'localhost' WITH GRANT OPTION; Query OK, 0 rows affected, 1 warning (0.00 sec) mysql> CREATE USER 'jira'@'127.0.0.1'; Query OK, 0 rows affected (0.00 sec) mysql> ALTER USER 'jira'@'127.0.0.1' IDENTIFIED WITH mysql_native_password BY 'root123'; Query OK, 0 rows affected (0.00 sec) mysql> GRANT ALL PRIVILEGES ON jira.* to 'root'@'127.0.0.1' WITH GRANT OPTION; Query OK, 0 rows affected (0.00 sec) mysql> FLUSH PRIVILEGES; Query OK, 0 rows affected (0.00 sec)4. 修改my.cnf[mysqld] ... default-storage-engine=INNODB ... [mysqld] ... character_set_server=utf8mb4 ... [mysqld] ... innodb_default_row_format=DYNAMIC ... [mysqld] ... innodb_redo_log_capacity=4G ... innodb_redo_log_capacityinnodb_log_file_sizeinnodb_log_files_in_group sql_mode = NO_AUTO_VALUE_ON_ZERO5.安装Jira[root@localhost ~]# sudo ./atlassian-jira-software-8.22.0-x64.bin Unpacking JRE ... Starting Installer ... This will install Jira Software 8.22.0 on your computer. OK [o, Enter], Cancel [c] Click Next to continue, or Cancel to exit Setup. Choose the appropriate installation or upgrade option. Please choose one of the following: Express Install (use default settings) [1], Custom Install (recommended for advanced users) [2, Enter], Upgrade an existing Jira installation [3] 2 Select the folder where you would like Jira Software to be installed. Where should Jira Software be installed? [/opt/atlassian/jira] Default location for Jira Software data [/var/atlassian/application-data/jira] Configure which ports Jira Software will use. Jira requires two TCP ports that are not being used by any other applications on this machine. The HTTP port is where you will access Jira through your browser. The Control port is used to startup and shutdown Jira. Use default ports (HTTP: 8080, Control: 8005) - Recommended [1, Enter], Set custom value for HTTP and Control ports [2] 2 HTTP Port Number [8080] Control Port Number [8005] Jira can be run in the background. You may choose to run Jira as a service, which means it will start automatically whenever the computer restarts. Install Jira as Service? Yes [y, Enter], No [n] y Details on where Jira Software will be installed and the settings that will be used. Installation Directory: /opt/atlassian/jira Home Directory: /var/atlassian/application-data/jira HTTP Port: 8080 RMI Port: 8005 Install as service: Yes Install [i, Enter], Exit [e] i Extracting files ... Please wait a few moments while Jira Software is configured. Installation of Jira Software 8.22.0 is complete Start Jira Software 8.22.0 now? Yes [y, Enter], No [n] y Please wait a few moments while Jira Software starts up. Launching Jira Software ... Installation of Jira Software 8.22.0 is complete Your installation of Jira Software 8.22.0 is now ready and can be accessed via your browser. Jira Software 8.22.0 can be accessed at http://localhost:8080 Finishing installation ... # 安装完成6.Jira破解说明&安装程序&破解补丁
-
Linux部署小雅alist Linux部署小雅alist小雅是基于阿里云盘的共享资源构建的一个比较完整的,大规模的资源库。结合你的阿里云盘,在你需要的时候,把对应的资源转移到你的阿里云盘的中转目录。而且可以做到定期清理,不用担心阿里云盘容量被转存的资源占满。配置好之后,这一切都是自动的,不需要人工干预。还有一些优点,小雅支持 WebDAV,可以结合各种客户端比如 Jellyfin、Emby 来使用,很多资源都已经过刮削,在客户端使用也非常省心。对于有些家人不会找资源的,小雅可真是个神器!相对于 nastools 之类的自动化工具,也不需要折腾 PT 站点认证,上手使用门槛非常低。安装dockeryum -y -q install docker-ce docker-ce-cli containerd.io docker-compose-plugin docker-ce-rootless-extras docker-buildx-plugin配置国内镜像tee /etc/docker/daemon.json <<EOF {"registry-mirrors":[ "https://dockerproxy.cn", "https://docker.rainbond.cc", "https://docker.udayun.com", "https://docker.211678.top" ]} EOF启动dockersudo systemctl daemon-reload sudo systemctl start docker安装小雅alistbash -c "$(curl --insecure -fsSL https://ddsrem.com/xiaoya_install.sh)"
-
-
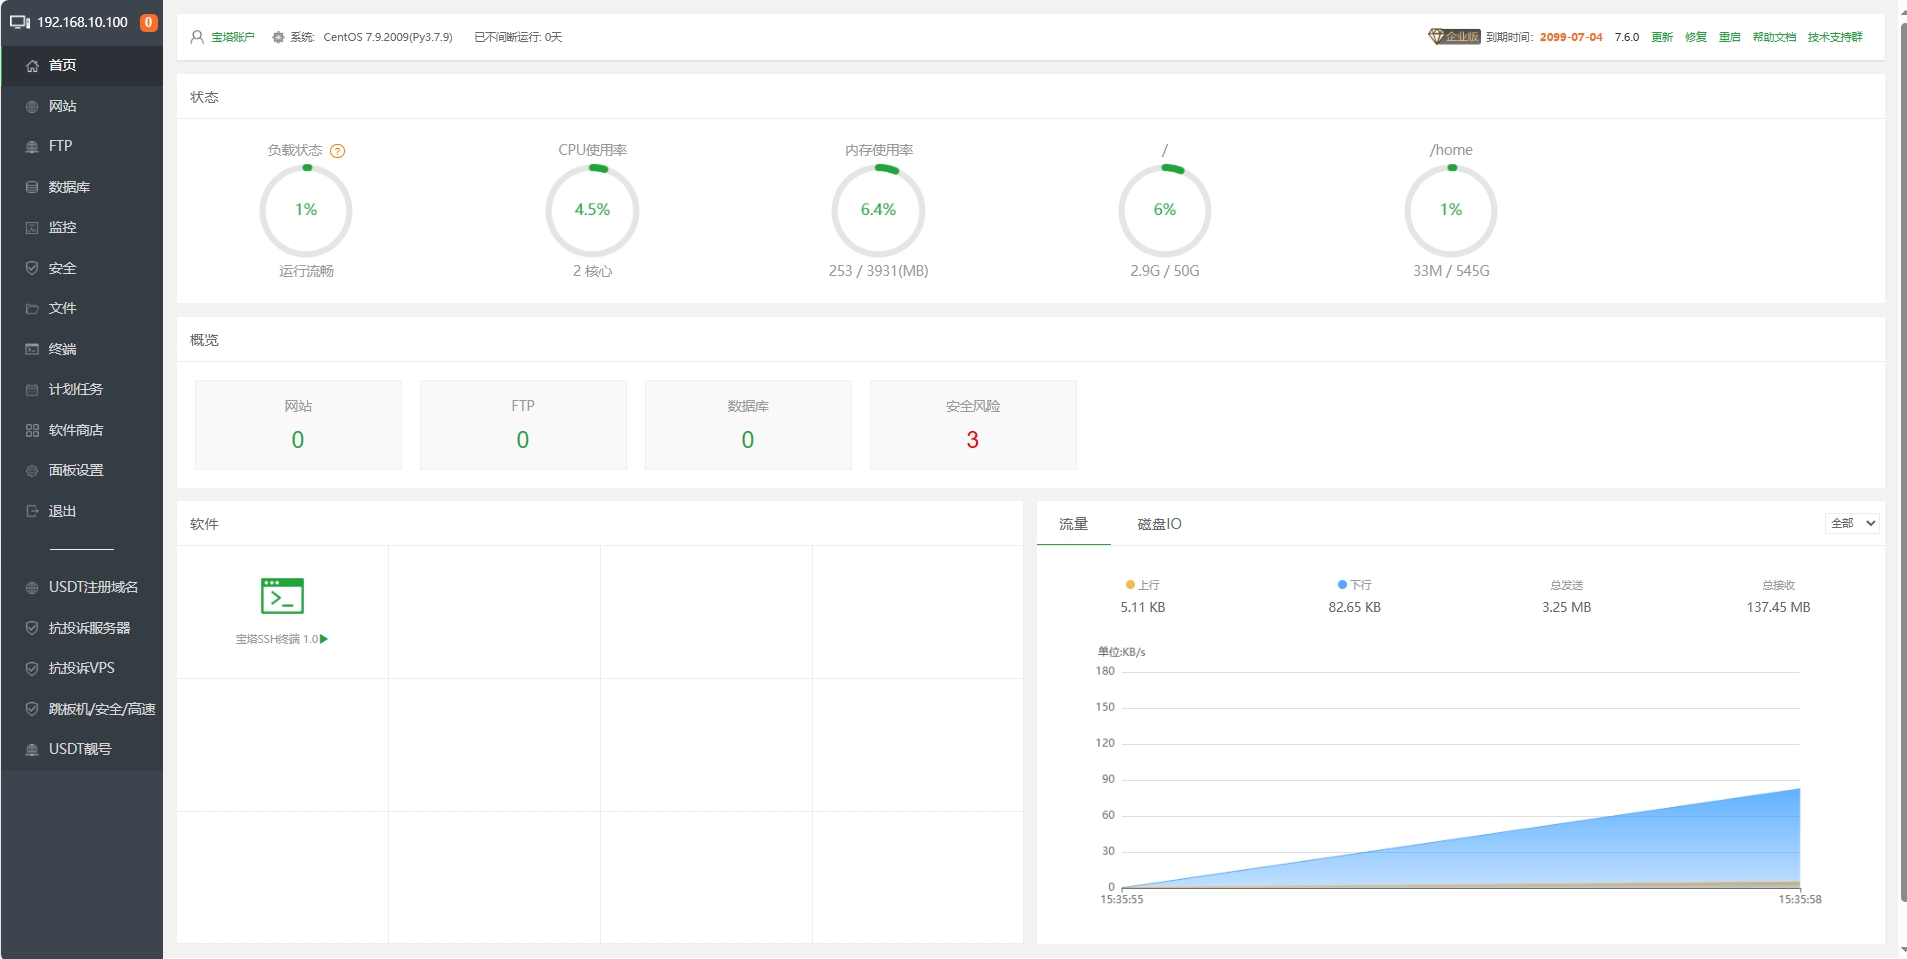
宝塔面板7.6.0破解版 宝塔面板7.6.0破解版宝塔纯净版介绍· 无需手机登录:不再有手机登录提示,或按照提示输入任意手机号密码即可模拟绑定;· 安全:剥离了所有与宝塔官方的通信、上报、下发;并且不与本站纯净版服务器通信;· 免费:提升为企业会员,免费使用软件商店中的所有[企业版插件]、[专业版插件]、[运行环境]、[免费插件]、[宝塔插件];部分[第三方应用]安装可能会失败;· 面板修复:纯净版不与官方通信,也没有与我们服务器通信,所以无法判断贵站情况,建议使用升级代码修复/或安装宝塔官方版再安装纯净版(小概率出现异常,大概率只重装面板不影响网站运行);· 其他提示:如果发现[软件商店]空白,大多是服务器与你本地的网络问题,请清理本地缓存/切换浏览器的访客模式访问/切换本地代理IP;· 本站声明:纯净版基于官方代码、仅做通信剥离、代码未加密、未添加任何新增代码!宝塔纯净版 7.6.0版本 [稳定版本/推荐]1.CentOS全新安装命令:根据系统执行框内命令开始安装(大约2分钟完成面板安装)升级后可能需要重启面板yum install -y wget && wget -O install.sh http://v7.hostcli.com/install/install_6.0.sh && sh install.sh宝塔面板v7.6.0 系统兼容性顺序: 建议使用下列系统进行安装:Centos 7.6 > Debian10 > Ubuntu 20.04 > Cenots8.x > Ubuntu 18.04; 提示:Centos7在2024年6月30日官方停止维护,建议使用更新的系统安装宝塔纯净版8.2.0版本; 尽量使用CentOS 7.6+、Ubuntu18.04+、Debian10.0+ 以上的版本,确保是干净的操作系统,没有安装过其它环境安装的Apache/Nginx/php/MySQL/pgsql/gitlab/java 已有环境、网站在运行的不可安装。2.Debian全新安装命令:wget -O install.sh http://v7.hostcli.com/install/install-ubuntu_6.0.sh && bash install.sh3.Ubuntu/Deepin全新安装命令:wget -O install.sh http://v7.hostcli.com/install/install-ubuntu_6.0.sh && sudo bash install.sh4.Fedora全新安装命令:wget -O install.sh http://v7.hostcli.com/install/install_6.0.sh && bash install.sh5.升级代码/修复面板:已经安装官方面板,执行下列命令升级到7.6.0纯净版:yum install -y wget && wget -O install.sh http://v7.hostcli.com/install/install_6.0.sh && sh install.sh6.其他非官方版本含开心版、快乐版、纯净版等7.4.5至7.6.0版本之间所有版本均可,执行下列命令升级到7.6.0纯净版:curl http://v7.hostcli.com/install/update6.sh|bash7.任意非官方版本还原到官方最新版:curl http://download.bt.cn/install/update6.sh|bash